
Summer is here, and that means it’s time to let your nails shine with vibrant, playful designs! If you’re looking to add some fun flair to your summer look, polka-dot nails are the perfect choice. Easy to create and endlessly customizable, this DIY nail art trend brings a cheerful vibe that’s perfect for sunny days. Whether you’re heading to the beach, a picnic, or just lounging around, these cute dots can elevate your summer mani in no time. Grab your nail supplies and let’s dive into the world of polka dot designs!
Contents
- Choosing Your Color Palette
- Essential Tools for Polka-Dot Nails
- Nail Prep: The Foundation of Your Design
- Creating Basic Polka-Dots
- Mixing Patterns: Stripes and Dots
- Accessorizing Your Polka-Dot Nails
- Troubleshooting Common Issues
- Nail Care: Keeping Your Summer Mani Fresh
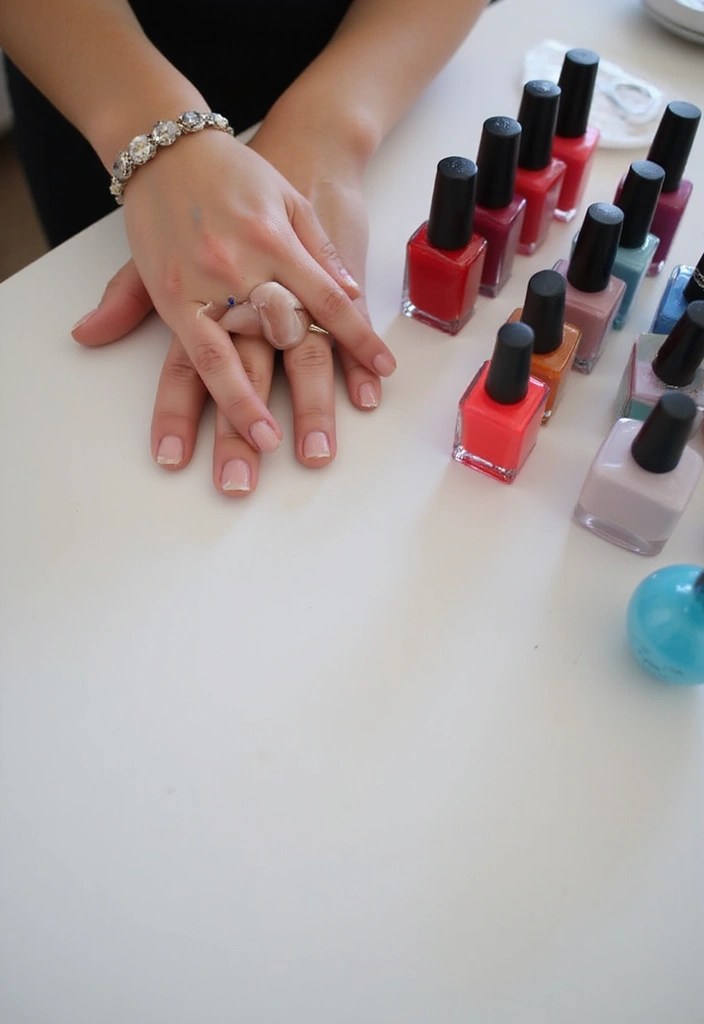
Choosing Your Color Palette
Color selection is key to achieving stunning polka-dot nails that scream summer fun! Think vibrant hues like coral, turquoise, bright yellow, and classic white for a refreshing look. You can create a whimsical feel by mixing pastel tones with neons or go bold with contrasting colors. To kick things off, decide if you want a monochromatic look with varied dot sizes or a multi-colored splash. Your nails can be the perfect accessory to tie everything together, so don’t forget to consider your outfit!
Keep in mind the color wheel; using complementary colors can create an eye-catching effect. For instance, pairing blue and orange can really make your dots pop! To help you visualize your color choices, consider using a nail wheel for color testing. This tool allows you to test colors on nail swatch sticks to see how they look together before committing.
Lastly, don’t shy away from seasonal trends. For a more tropical vibe, consider using shades inspired by fruits like watermelon pink, lemon yellow, and minty green—the juicier, the better! To bring your design to life, you’ll need the right tools. A set of nail art dotting tools can make creating those perfect polka dots a breeze, giving you both precision and variety in your designs.
Summer nails should be a splash of joy! Choose vibrant colors that reflect your mood and outfit, and let your creativity shine with DIY nail art. Your fingertips are the perfect canvas for a summer masterpiece!
For the base colors, you might want to check out the nail polish set (vibrant colors), which offers a variety of shades to match any design you can dream up. With these products at your disposal, you’re ready to create a stunning summer nail masterpiece!
Product Recommendations:
• nail wheel for color testing
• nail polish set (vibrant colors)
Essential Tools for Polka-Dot Nails
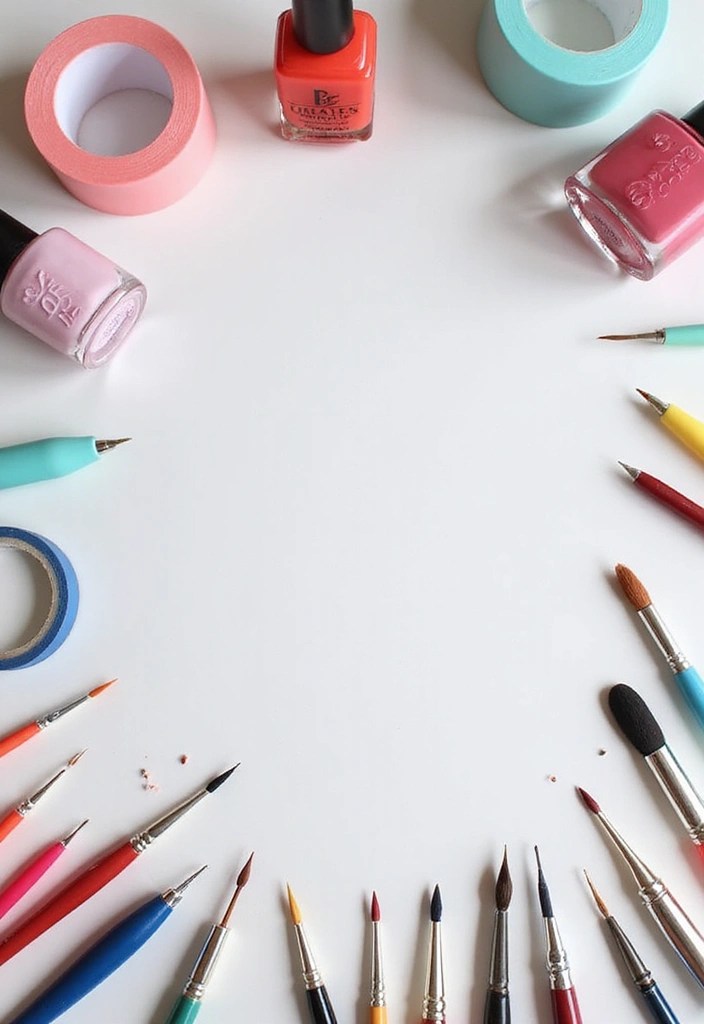
Creating fabulous polka-dot nails requires a few essential tools that are easy to find! First and foremost, you’ll need a good base coat to protect your nails and ensure your design lasts. The Sally Hansen Double Duty™, Base and Top Coat is a great choice for a quick-drying and long-lasting finish with streak-free shine.
Next, for the dots themselves, consider using a dotting tool like the Augshy 19pcs Mandala Dotting Tools Set. This versatile set will give you precision and ease while creating those perfect dots, and it can also be used for other art projects!
If you plan to mix designs or colors, some painter’s tape or nail art tape will help you create clean lines. The 6Rolls Washi Masking Tape is ideal for DIY nail art, allowing you to draw patterns and make your designs stand out.
And last but not least, having some cotton swabs and nail polish remover on hand for touch-ups will save you from any mishaps! These tools not only make the process easier, but they also help your nails look professionally done right at home!
With just a few essential tools, you can create DIY nail art that shines! A base coat, a dotting tool, and a steady hand are all you need to rock those summer polka-dot nails!
Product Recommendations:
• Augshy 19pcs Mandala Dotting Tools Set
Nail Prep: The Foundation of Your Design
Before diving into the fun part, nail prep is crucial. Start with clean, dry nails. Remove any old polish and wash your hands thoroughly. If your nails are dry or chipped, consider a quick manicure to ensure a neat canvas for your polka dots.
Apply a base coat, such as Sally Hansen Double Duty™, Base and Top Coat. This product protects your nails from staining and improves the longevity of your polish, helping the colors adhere better. Once that’s dry, you’re ready to paint your base color!
Choose a solid hue that will make your dots stand out. A light color, like white or pale pink, can make bright dots pop, while darker shades provide a stunning contrast. For a great selection of colors, consider a nail polish set like the 15 Bright Color Air Quick Dry Nail Polish Gift Set. Make sure to let the base color dry completely before moving on to the dots; this helps avoid smudging!
When you’re ready for the dots, having the right tools makes all the difference. A set like 5PCS Dotting Pens with 3 PCS Nail Painting Brushes will give you the precision you need to create perfect polka dots.
Remember, taking time with prep can extend the life of your mani and make your design look polished!
Product Recommendations:
• 15 Bright Color Air Quick Dry Nail Polish Gift Set
• 5PCS Dotting Pens with 3 PCS Nail Painting Brushes
Creating Basic Polka-Dots
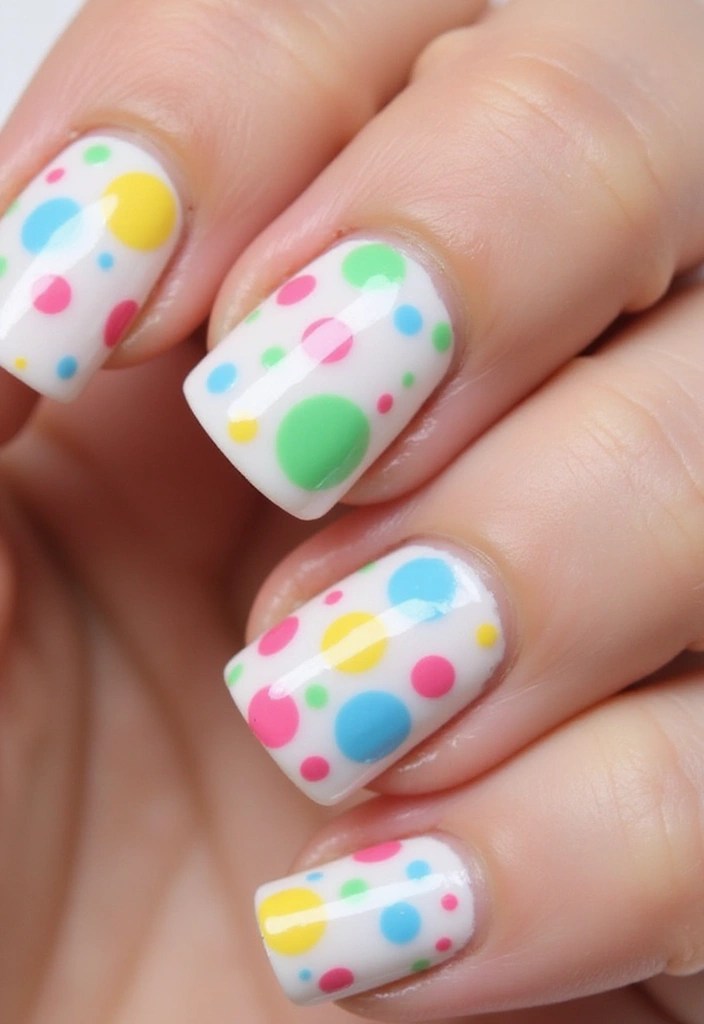
Now for the fun part: creating basic polka-dots! Once your base coat is dry, it’s time to get dotting. Dip your dotting tool into your chosen color and gently tap it onto your nail to create a dot. It’s best to start small, as you can always add more layers for a bolder look.
To make the dotting process even easier, consider using a dotting tool set, which includes various sizes of tools to help you create perfect dots. You can vary the size of your dots by using different tools or altering the pressure you apply. Try creating a pattern with different sizes for added interest. For symmetrical designs, consider mapping out where you want your dots to go first. If you’re feeling adventurous, you can even create a gradient effect by alternating dot sizes and colors.
Don’t forget to clean your dotting tool between colors to avoid muddying your design! After you’ve finished, let the dots dry completely before applying a top coat. A good option is Sally Hansen Double Duty™, which acts as both a base and a top coat, helping to seal your design and add gloss.
To achieve vibrant and playful colors for your polka-dots, check out the nail polish set that offers an assortment of bright shades. This will give you plenty of options to customize your nail art and make your polka-dot design pop. Happy dotting!
Product Recommendations:
Mixing Patterns: Stripes and Dots

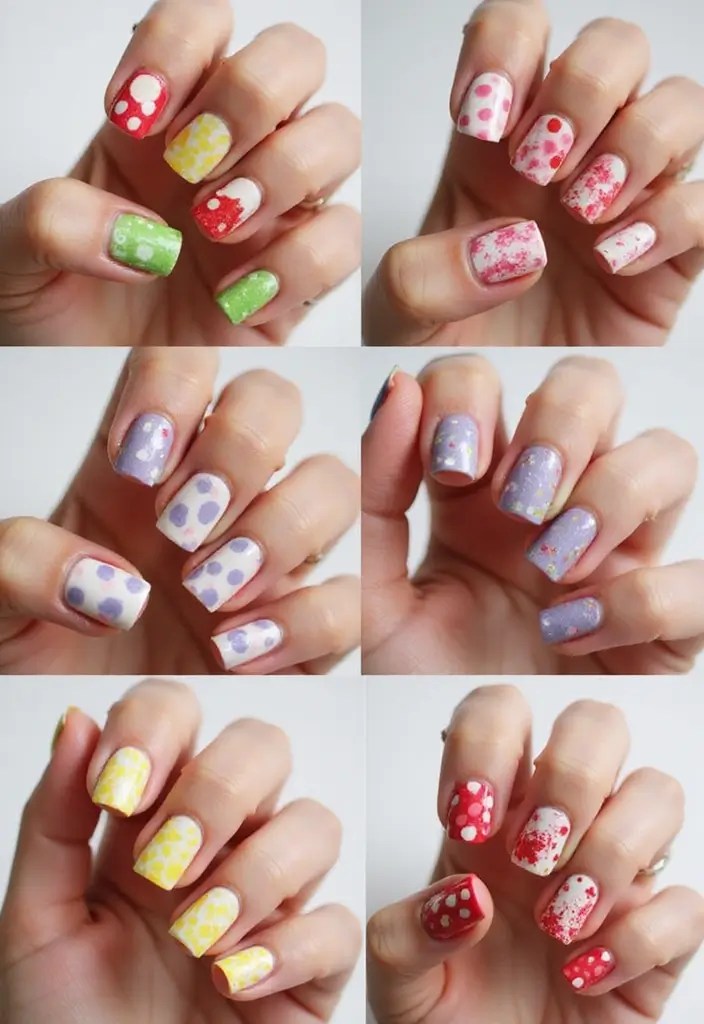
If you’re feeling creative, why not mix it up with stripes and dots? Combining patterns allows your nails to stand out even more during summer. Start by painting your base color and letting it dry completely. Once dry, use painter’s tape to section off areas for striping. This will give you clean, crisp lines.
For stripes, you can use a brush from an Nail Art Brush Set which includes various tools to help you create long lines and detailed designs. Try creating diagonal or vertical stripes, or even a crisscross pattern! Once the stripes are dry, go ahead and add your dots using nail art dotting tools for precision.
The key is to balance the patterns. If your stripes are bold and wide, keep your dots smaller to avoid visual clutter. Make sure to let everything dry between steps to keep your design looking crisp and fresh.
Mixing patterns is a playful way to show off your personality and creativity!
Unleash your creativity with DIY nail art! Mixing stripes and dots can turn your nails into a summer masterpiece. Remember, the only limit is your imagination – so let those vibrant patterns shine!
Product Recommendations:
Accessorizing Your Polka-Dot Nails
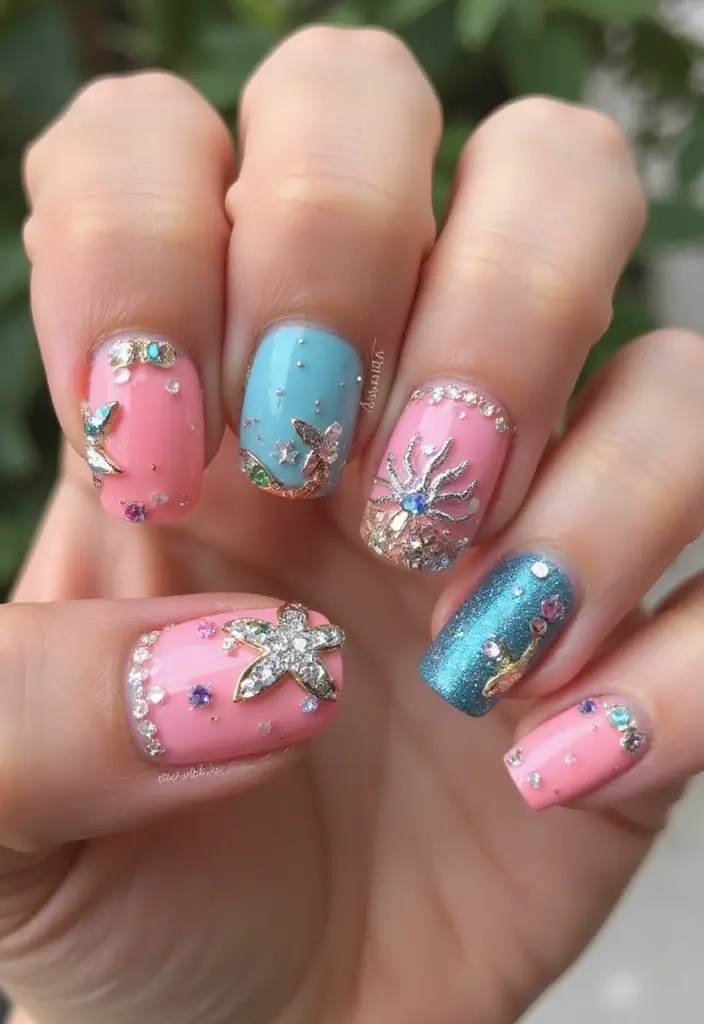
Take your polka-dot manicure up a notch with some nail accessories! Nail art studs, gems, and stickers can transform a simple design into something fabulous. For instance, try using the nail art studs and gems set, which features a mix of sizes and metallic colors. Just apply a small amount of clear polish or nail glue to adhere the embellishments to your dots, adding that extra flair.
To achieve a cohesive look, select accessories that match or complement your chosen color palette. For example, if you opted for a bright orange and white design, incorporating some of those gold studs from the set can add a touch of glam!
Additionally, don’t forget to experiment with glitter for a shimmery finish! The glitter nail polish in Glitter Bomb is perfect for sprinkling some sparkle over your polka dots while the polish is still tacky. Alternatively, you can use a clear coat to secure the glitter afterward for lasting shine.
For a playful twist, consider adding floral designs with the nail art stickers. These colorful, self-adhesive stickers are easy to apply and can enhance the overall look of your nails, making them perfect for summer parties or events.
Accessorizing allows you to express your style and transform your nails into little works of art!
Product Recommendations:
• glitter nail polish in Glitter Bomb
Troubleshooting Common Issues

Even the best DIYers can run into problems while creating their polka-dot nails. Don’t worry; most issues have simple solutions! For instance, if your dots are smudging, it’s likely because the base coat wasn’t dry enough. Always let your base color dry completely before adding dots. To ensure a flawless finish, consider using a reliable base and top coat nail polish, which not only helps with drying time but also protects your design.
If your dots aren’t round, check the amount of polish on your tool. Too much will spread; too little won’t create a full dot. Ensure you’re using the right size tool for the dot sizes you want to achieve. A great option for this is the nail dotting tools set, which includes a variety of dotting pens to help you achieve perfect dots every time.
If you’re experiencing bubbling in your polish, it might be due to shaking your polish bottle instead of rolling it gently. Always roll to mix! Lastly, if you find your polish chipping too soon, it could be due to skipping the base or top coat. These steps are essential for durability, and using a quality base and top coat nail polish can really help enhance your manicure’s longevity. With these tips and the right tools in hand, you’ll be able to overcome any hurdle and keep your nail art looking fresh!
Even the best DIY nail art enthusiasts face challenges! Remember, a little patience goes a long way – let your base coat dry completely for flawless polka dots. Perfection is just a dot away!
Product Recommendations:
• base and top coat nail polish
Nail Care: Keeping Your Summer Mani Fresh

After all your hard work, it’s important to take care of your nails to keep your polka-dot masterpiece looking fabulous! Start by moisturizing your hands and cuticles daily with Cuccio Naturale Revitalizing- Hydrating Oil. This cuticle oil is a great remedy for damaged skin and thin nails, helping to prevent dryness and cracking.
You may also want to avoid soaking your nails in water for long periods as this can cause your polish to lift. Using protective gloves for cleaning when doing dishes or cleaning can help keep your mani intact while ensuring your hands stay protected.
If you notice any chips in your design, don’t worry! Use a small brush to apply a bit of your base color to the affected area, and then finish up with nail art top coat. This quick fix can extend the life of your design without requiring a full repaint, allowing you to enjoy your summer nails for longer.
Lastly, be mindful of your nail health by allowing your nails to rest from polish every now and then. A healthy nail is a happy nail!
Product Recommendations:
• Cuccio Naturale Revitalizing- Hydrating Oil
• protective gloves for cleaning
Closing Thoughts: Embrace Your Creativity
Creating your own summer polka-dot nails is not just about looking good; it’s about embracing your creativity and expressing your unique style. Each dot tells a story, and your nails become a canvas for your summertime adventures. Whether you’re on the beach, at a barbecue, or just hanging out with friends, your nails can reflect the joy of the season.
So, gather your tools, unleash your imagination, and dive into the colorful world of DIY nail art! Share your creations with friends and family; you might just inspire someone else to embark on their nail art journey. Remember, the most important thing is to have fun while doing it!
Note: We aim to provide accurate product links, but some may occasionally expire or become unavailable. If this happens, please search directly on Amazon for the product or a suitable alternative.
This post contains Amazon affiliate links, meaning I may earn a small commission if you purchase through my links, at no extra cost to you.


Leave a comment